How to get your image ready for print — no designer, in 10 minutes
Published 28 September 2026
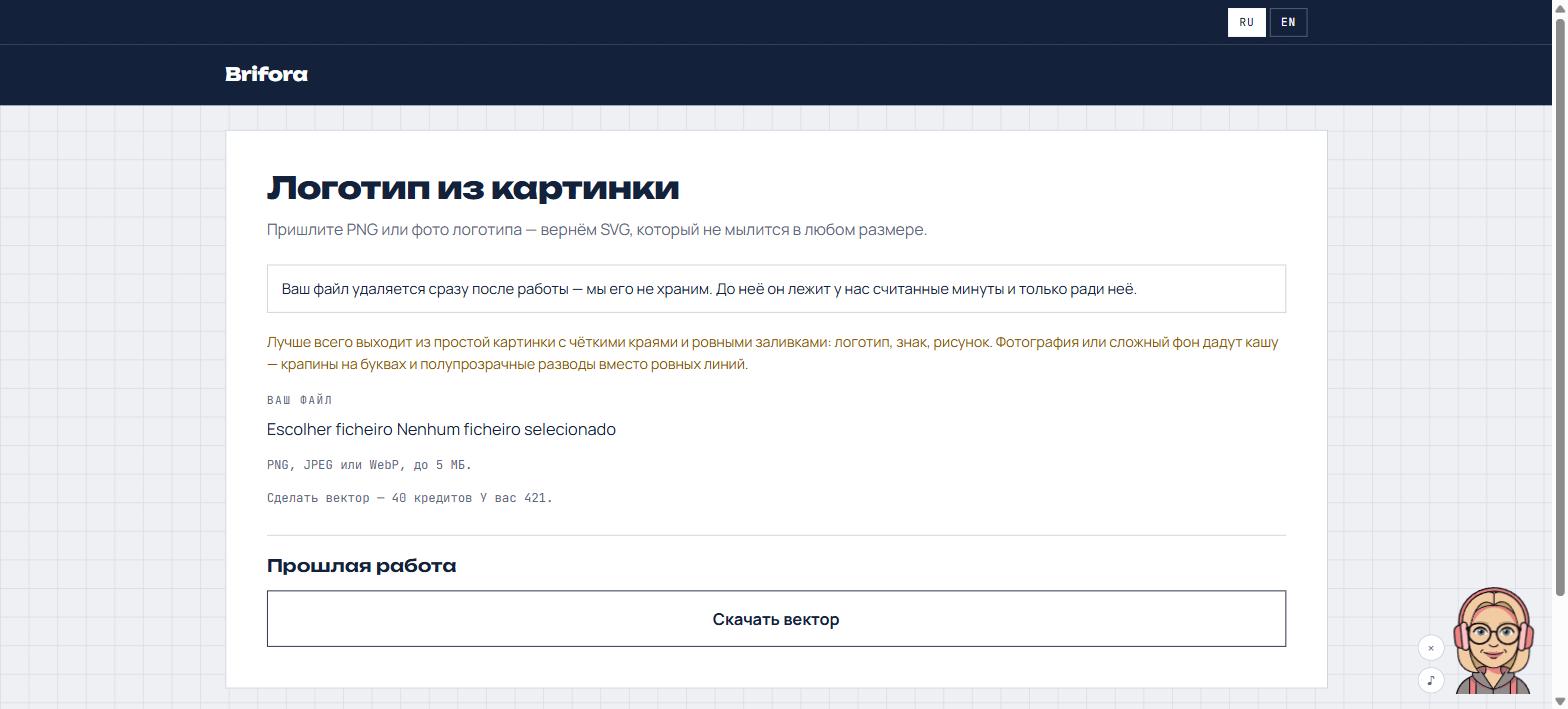
Workshops get the same request almost every day: “I want this on a t-shirt” — and attached is a photo of a logo taken with a phone, a screenshot from Instagram, or a tiny JPG on a white background. A print is only as good as the file it came from. Here are five steps to get the image ready yourself, with no designer and nothing to install.
What a print shop needs, in two sentences
For embroidery and vinyl cutting you need a vector file (SVG): lines, not pixels. For DTF and direct printing you need a PNG with a transparent background, large enough — for a t-shirt, at least 3000 px on the long side. If your file is already like that, send it and skip the rest.
Step 0. Sign in
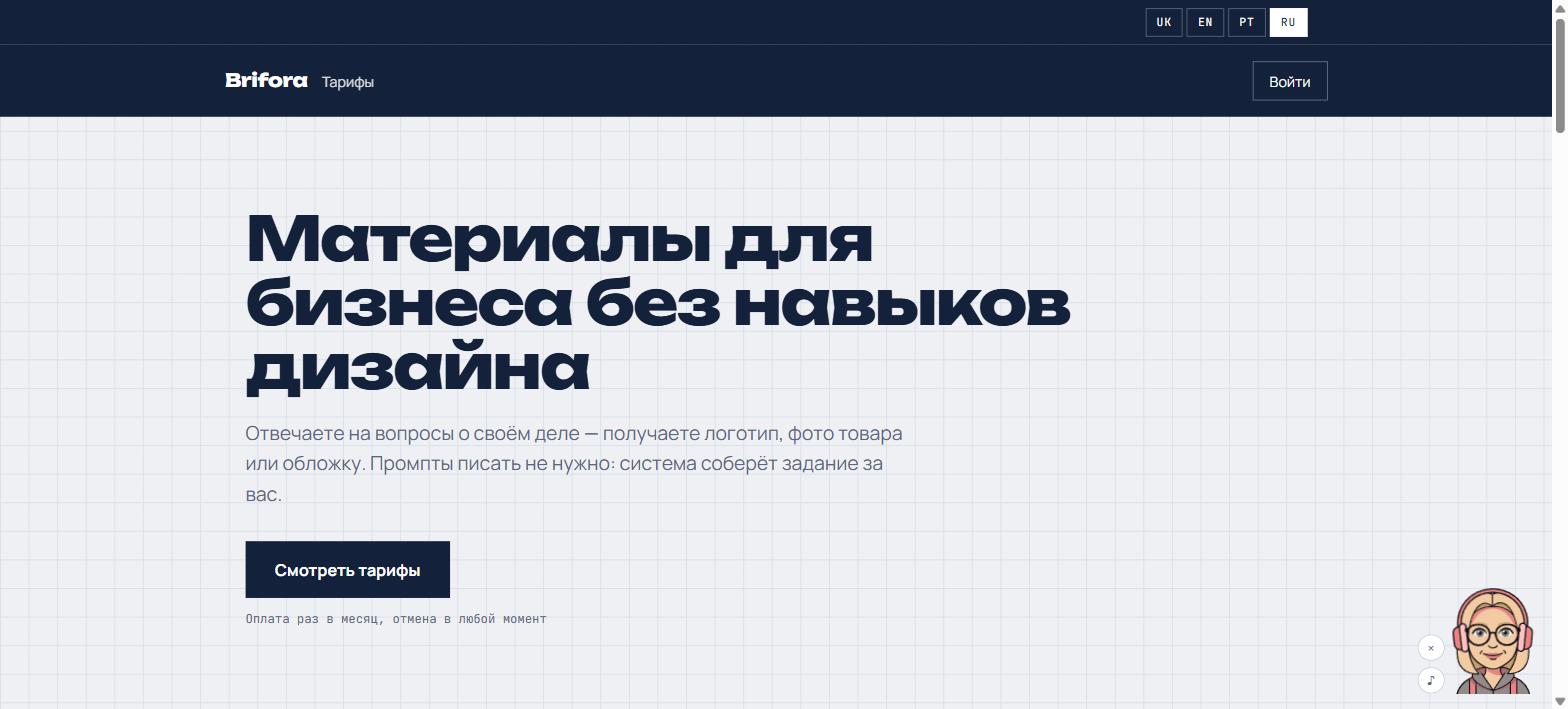
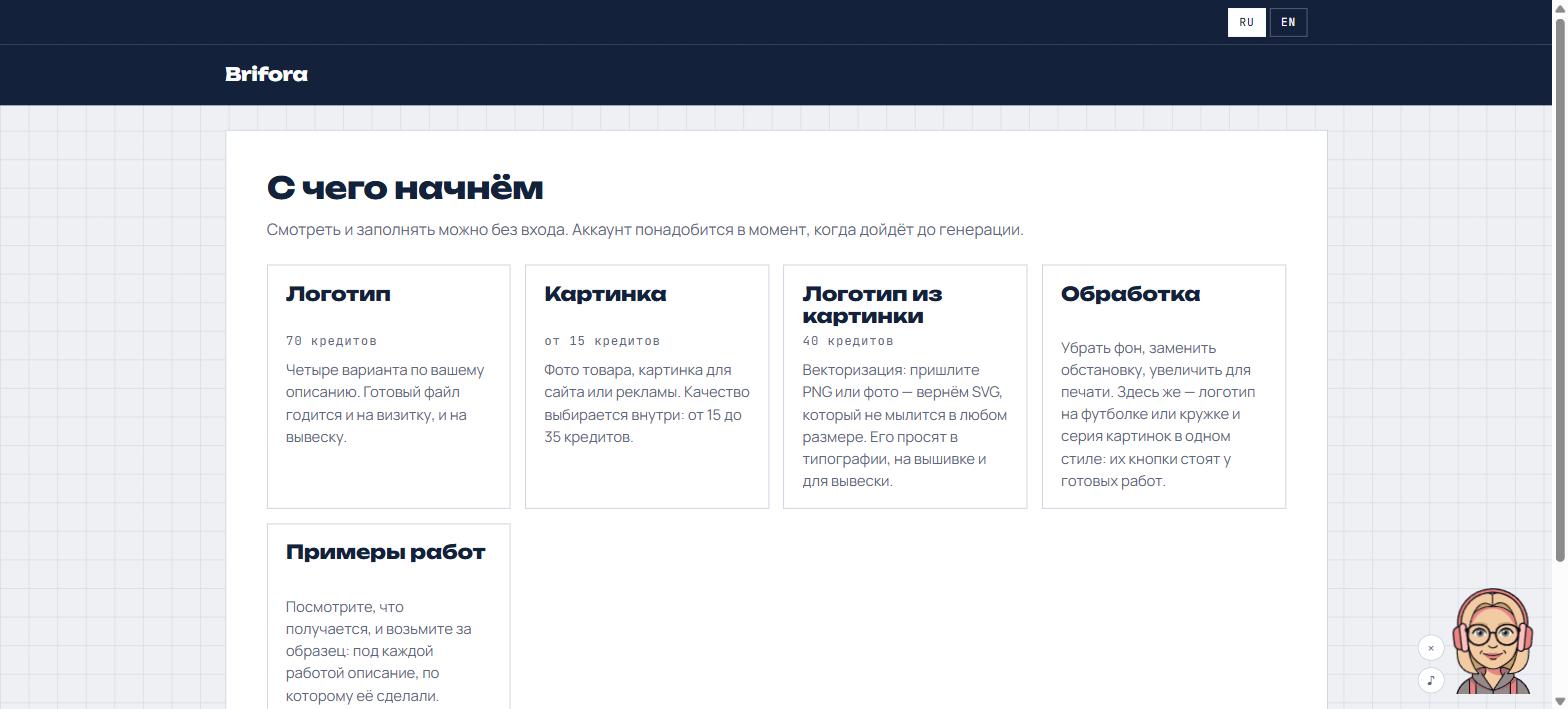
Open brifora.app. You can look around without an account: one is only needed at the moment of generating. Click “Sign in” in the top right — a six-digit code comes by email, there is no password at all. After signing in you land on “Start here”, ten cards in three rows.
Step 1. Logo to vector — for embroidery and vinyl
If your logo exists only as a JPG or PNG, turn it into an SVG.
- On the start screen click the “Logo from a picture” card. The direct address is brifora.app/vector.
- Under “Your file” pick the logo: PNG, JPEG or WebP, up to 5 MB.
- Click “Make a vector”. It costs 40 credits and takes about a minute.
- “Download the vector” appears — that is the file an embroiderer needs.
A hint that sits on the screen itself: it works best from a clean logo with sharp edges. A photo or a busy background turns to mush — in that case do step 2 first and only then the vector.
Step 2. Remove the background — for DTF and direct printing
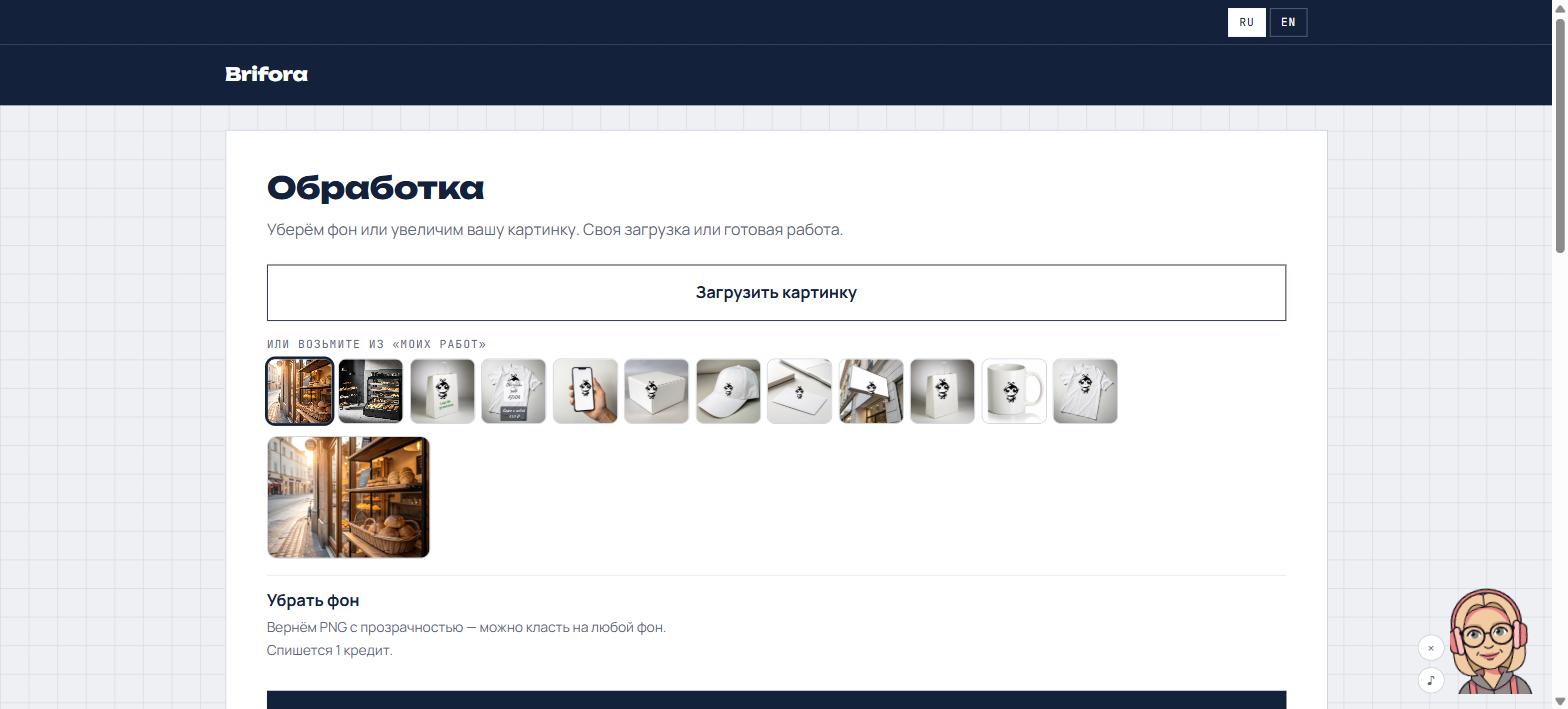
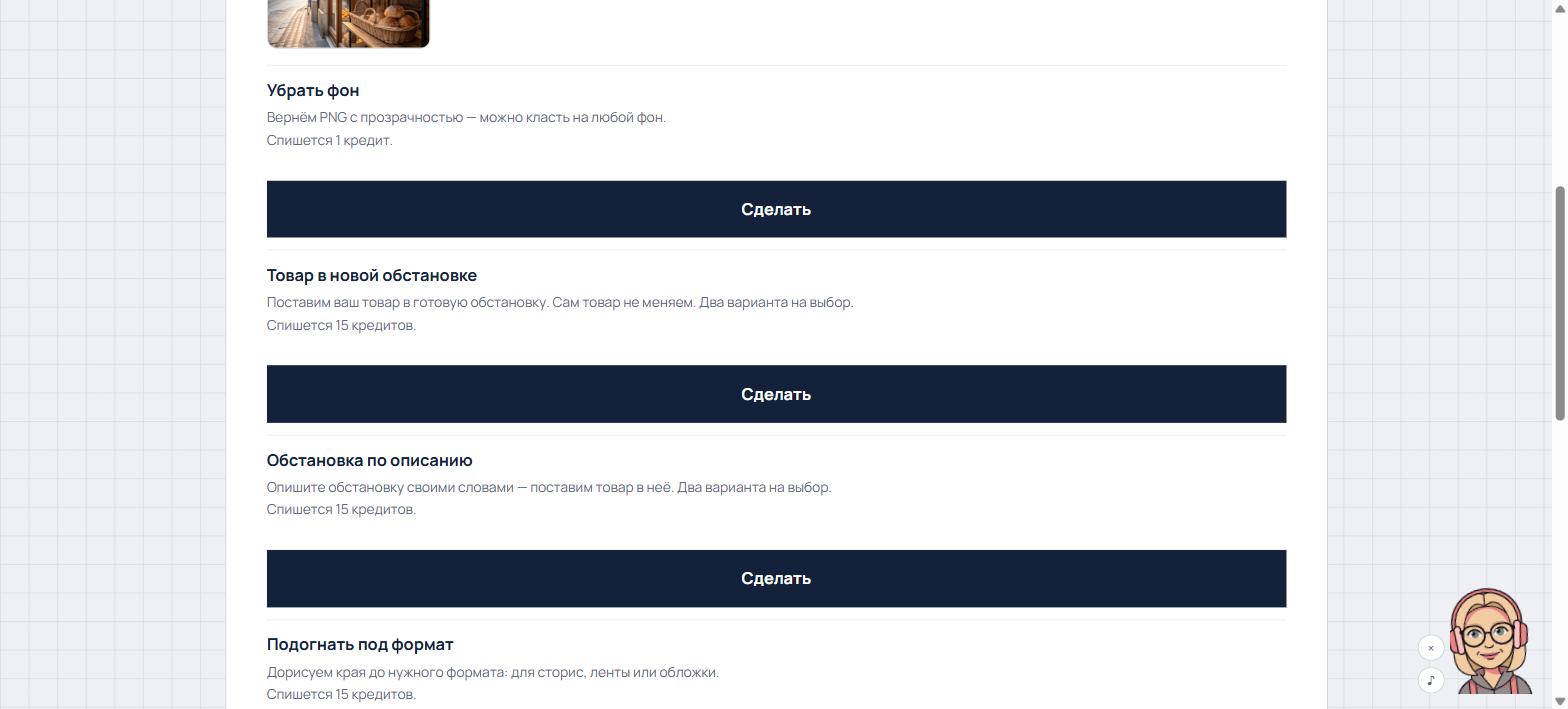
- On the start screen click “Processing” or open brifora.app/tools.
- Click “Upload a picture” and choose the file — a phone photo will do.
- Choose “Remove the background” and click “Make”. It costs 1 credit.
- The result is a PNG with transparency. Download it.
Step 3. Enlarge for print
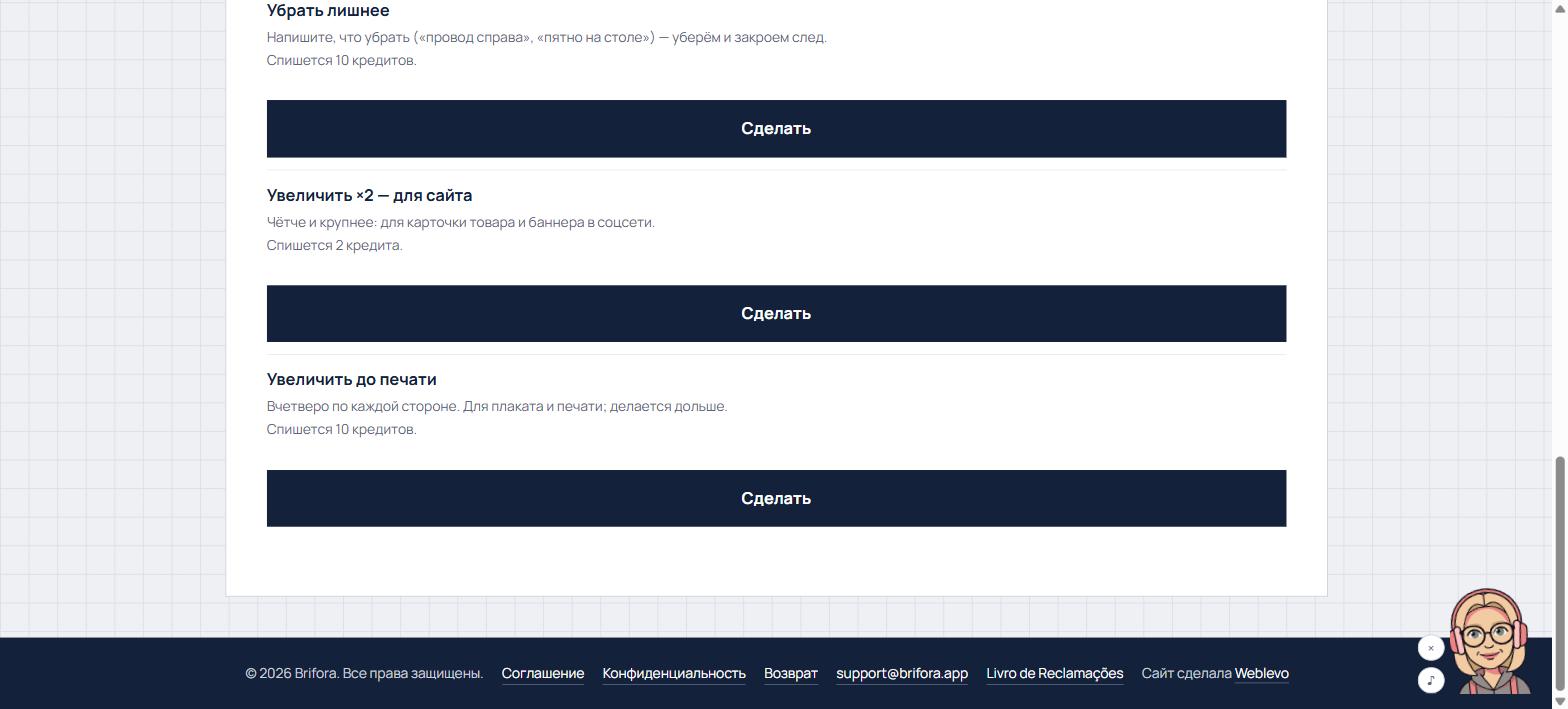
An 800 px image goes blocky on a t-shirt. On the same page:
- “Enlarge for print” — four times bigger on each side, 10 credits. This is the one for a t-shirt, a bag, a poster.
- “Enlarge ×2 — for the site” — 2 credits, for the site and social media; not enough for print.
Step 4. See how it will look before ordering
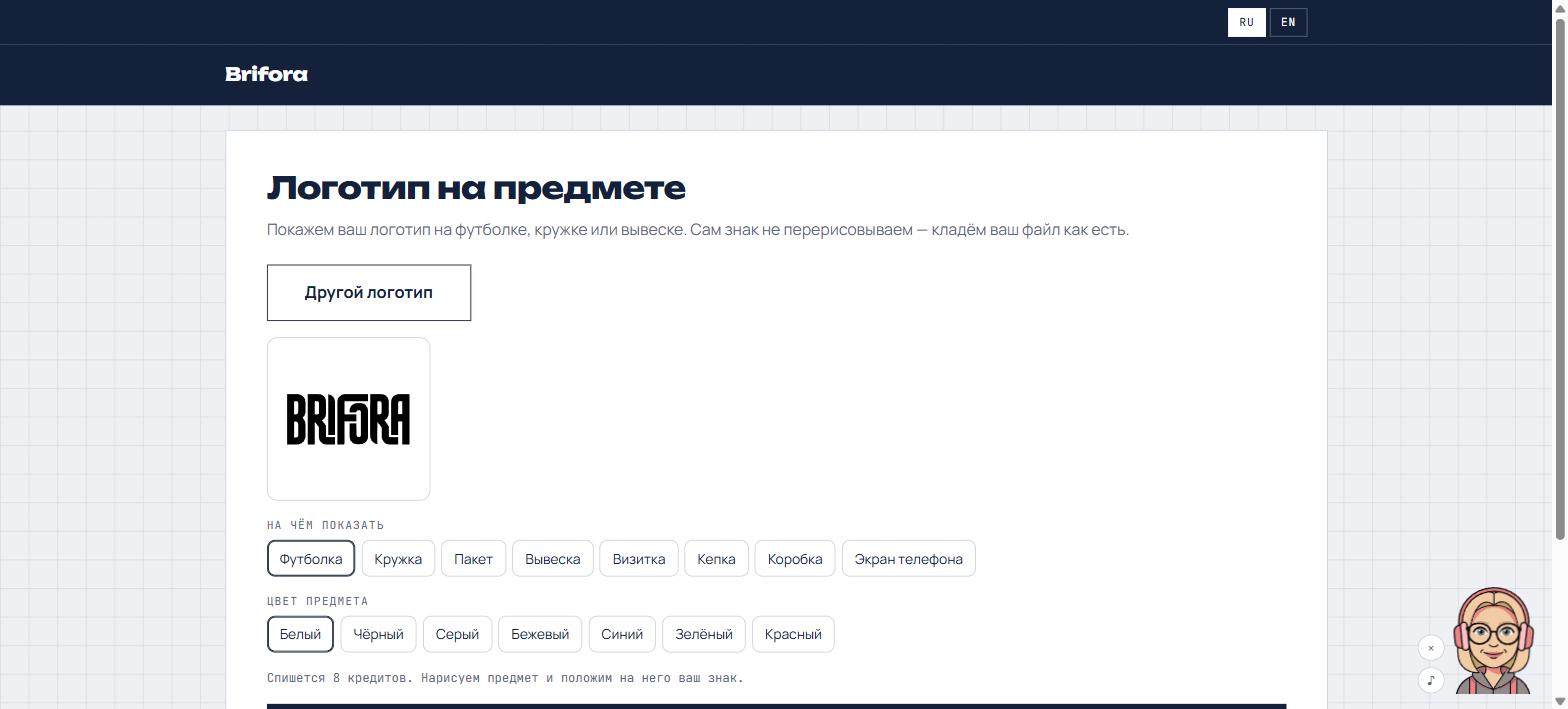
Want to see the logo on a t-shirt or a mug before you order? Open brifora.app/mockup — “Logo on an object”. Pick the object and the colour and click make: 8 credits. Then you can move, resize and bend the mark for free until it sits the way you want. Send that image along with the file — the workshop then knows exactly where and how big to print.
Step 5. Text on the picture — free
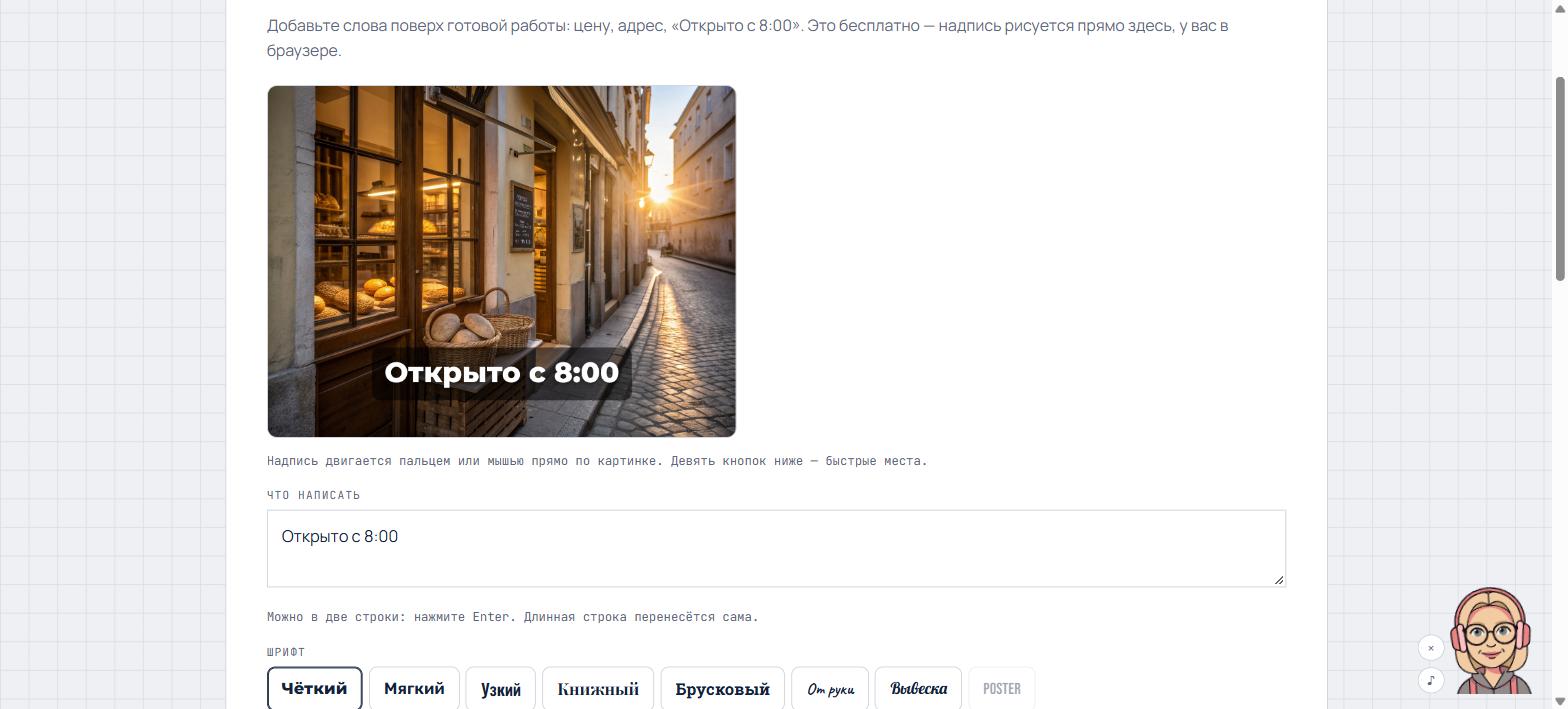
Need a price, a name or “Open from 8am” over the image? Open brifora.app/caption — “Text on a picture”. Text, font, colour, and the position with a finger or a mouse. It costs no credits: the letters are drawn by your browser.
Where the files live
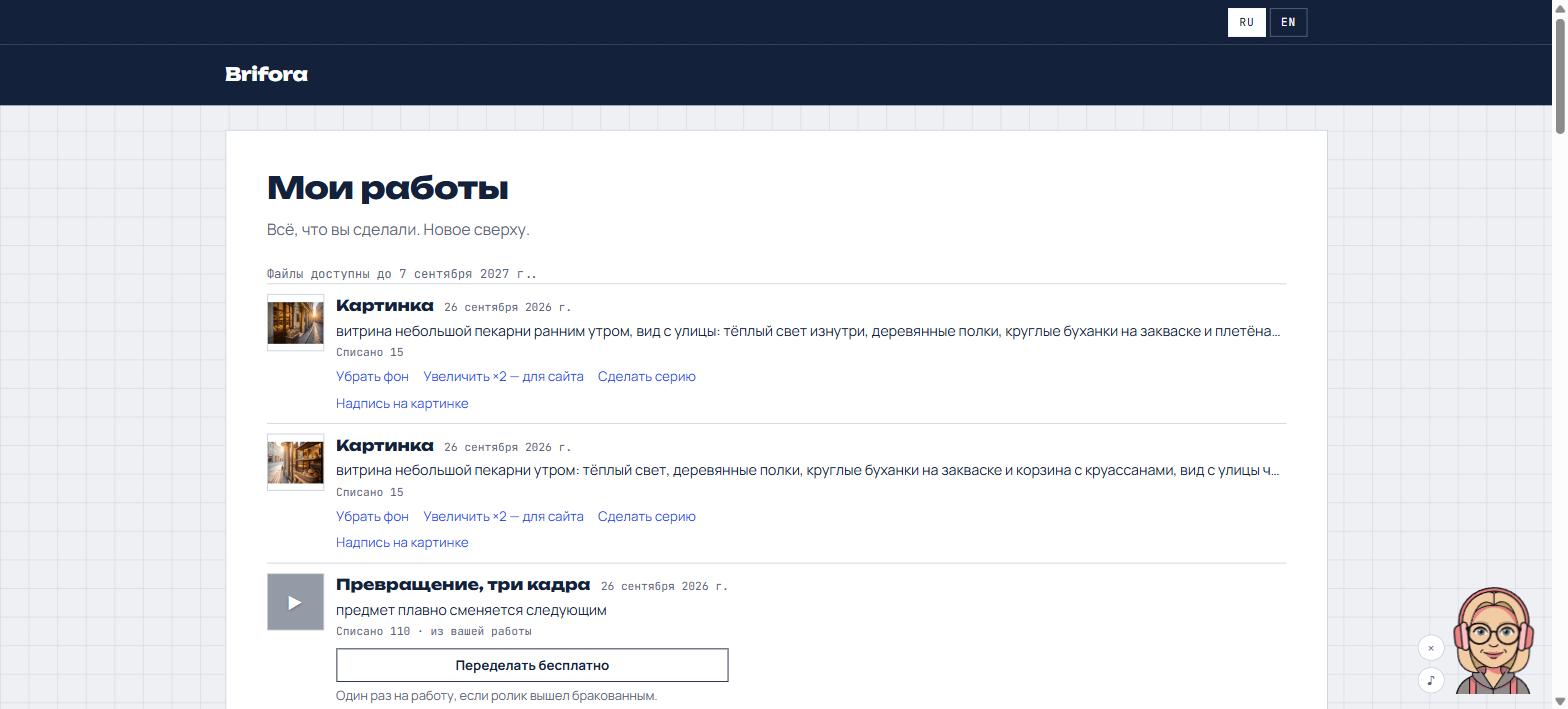
Everything you made is in “My work”, with download buttons under each item. While the subscription is running the files are kept with no deadline; after it ends, one more month. For someone who never subscribed, 90 days from the work itself.
What to send the workshop
For embroidery or vinyl — the SVG from step 1. For DTF or direct printing — the transparent PNG from step 2, enlarged in step 3. And the mockup from step 4, if you made one.
What it costs
A subscription starts at €9 a month (300 credits). The steps in this guide use about 50 credits — the basic plan covers all the files with room to spare. The first logo is a free trial, no card needed.
First published here: The Loja de Presente blog